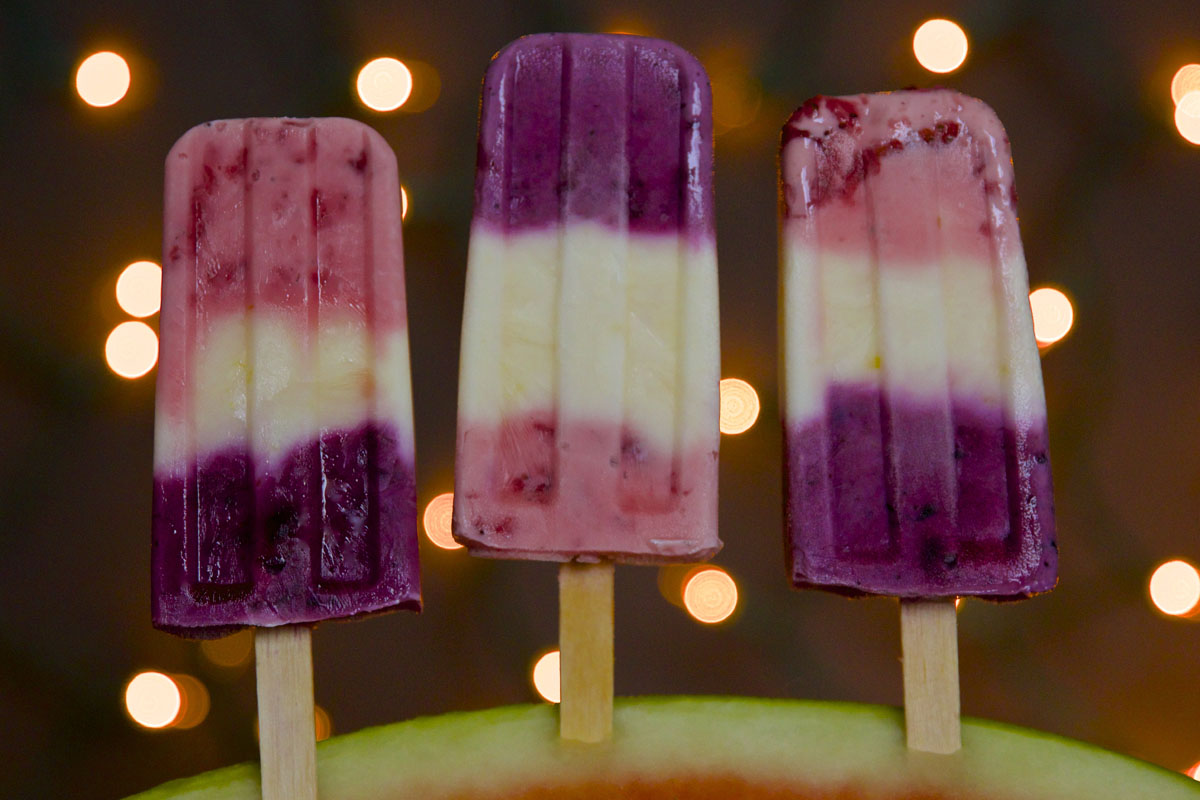
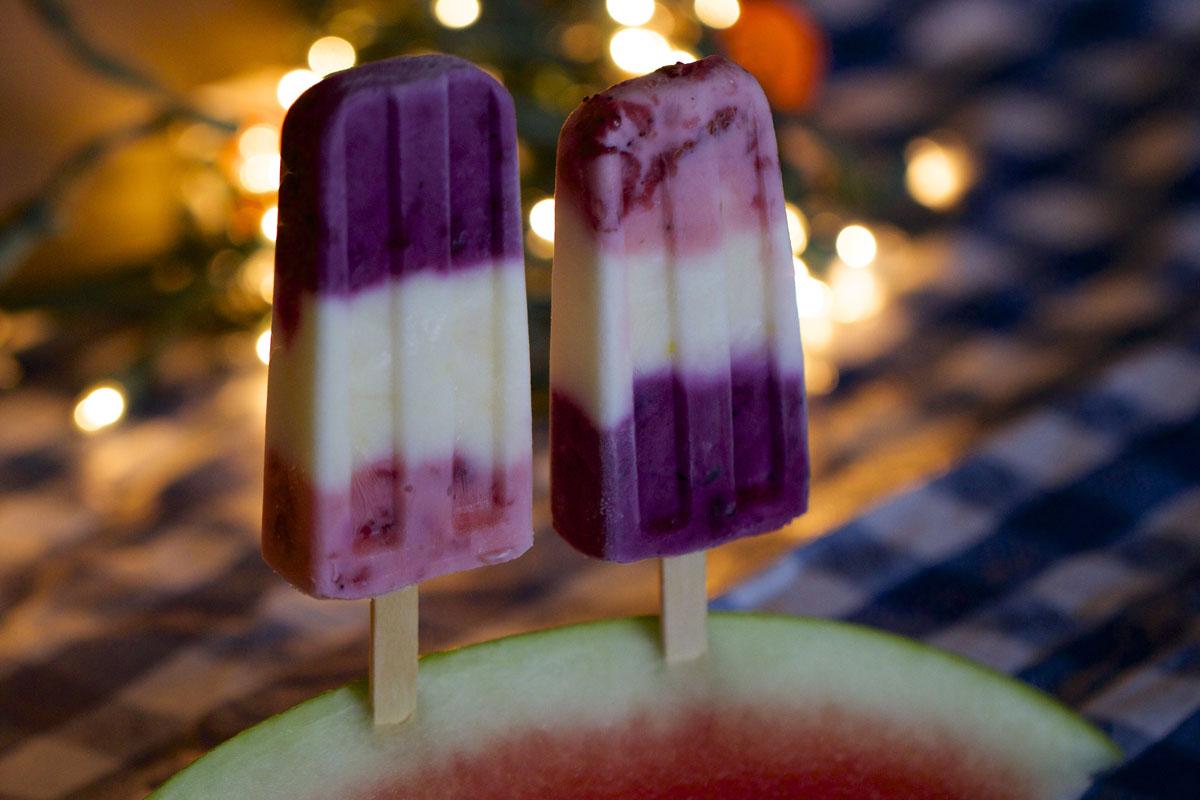
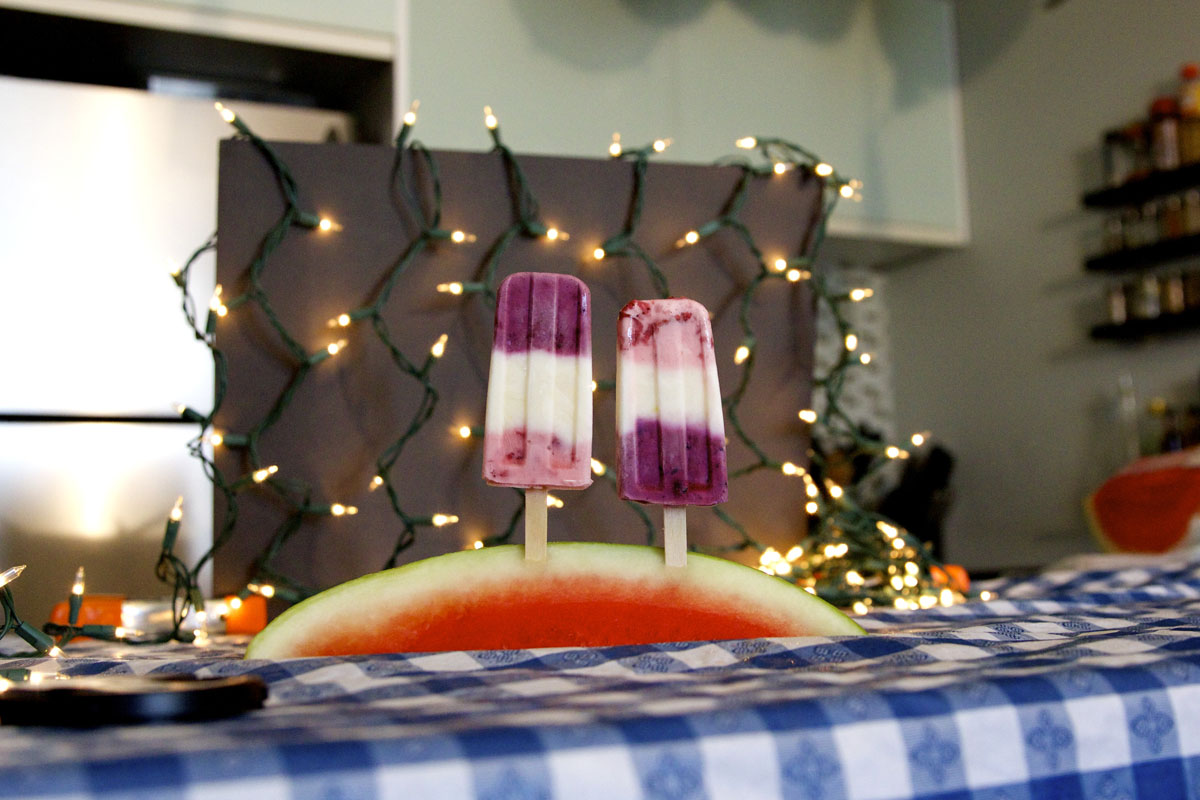
Patriot Pops
Servings
10 popsicles
Active Time
30 mins
Total Time
6 hours
| Share on Facebook |
| Share on Twitter |
| Download the Recipe |
Patriot Pops
It’s hot out, you say. It’s July 4th this weekend, you say. Well then, friends, I say that it is a perfect time for some festive homemade popsicles! Celebrate the Independence of ‘Merica this summer with this easier-than-you’d-think “Patriot Pops” recipe. A layer of strawberry, followed by a layer of lemon and finally a layer of blueberry combine to make these red, white and blue popsicles a treat for the whole country to enjoy!
Ingredients
- 3 cups whole milk vanilla yogurt
- 1 cup fresh blueberries
- 1 cup fresh strawberries
- 1/4 cup sugar, divided into 2 tablespoons each
- The zest and juice of a lemon
- A 10-popsicle mold or two 6-popsicle molds
- Popsicle sticks (if sticks are not built into your mold)
Special Equipment
Directions
1. To make the Patriot Pops we will begin by breaking down the strawberries into small cubes until you have a full cup. This usually ends up being around two-thirds of the plastic containers of strawberries you typically see in grocery stores. Combine the cut strawberries and two tablespoons of sugar in a small sauce pan and toss to combine. Over medium-low heat, allow the sugar to dissolve and release sugar from the strawberries. After about five minutes, there will be a noticeable amount of liquid in the bottom of the pot. Allow this liquid to come to a simmer and let simmer for 5 to 6 minutes to reduce and thicken. While it’s still warm, transfer the strawberries (and syrupy goodness) to a small mixing bowl, making sure scrape the sides of the sauce pot to get all of the jam out.
2. We will now be doing the same thing with the blueberries as we did with the strawberries. Combine the blueberries and the other two tablespoons of sugar into a small sauce pan (I use the same one as before after giving it a quick rinse) and place over medium-low heat. Since we cut the strawberries before cooking them, the sugar could work faster on breaking down the fruit and releasing its juices. We will not be cutting the blueberries, though, so I take the back of a fork and mash the blueberries a few times to help get things started. Heat until the juices start to simmer and then let simmer for 5-6 minutes until it’s thick and syrupy. Transfer to a separate mixing bowl and let cool.
3. While the berries are cooling, rinse and a dry a lemon and then drag a zester across the entire lemon to get somewhere around a tablespoon of lemon zest. Run your knife through the zest a few times to get it super fine and then transfer it to a third mixing bowl. Cut the lemon in half and squeeze the juice into the same bowl as the zest. Stir a few times to combine.
4. Measure one cup of whole milk yogurt into each mixing bowl and stir to thoroughly combine the yogurt with the respective fruit. We are now ready to assemble our Patriot Pops!
5. Set out a ten-popsicle mold or two six-popsicle molds (and either add some more berries and yogurt or leave two empty) next to your mixing bowls. The easiest way to get clean lines between the different yogurts is to put the yogurt mixtures into zip-top bags. Seal the top of the bag and then cut off a small corner from the bottom to create a make-shift piping bag. This way you can pipe in the layers of yogurt without having it streak down the sides of the mold, ensuring that each layer does not have residue from the other before it. If you are less obsessive than I am, by all means, use a spoon to layer in the different yogurts and call it a day. Regardless of your plan of attack, I typically like to do half of the pops with the strawberry mixture on top and half of the pops with the blueberry mixture on top, with the lemon mixture always in the middle. While you do lose the nice bright blues and reds from the berries when you combine them with the yogurt, I like that you don’t have to use much sugar to make the popsicles taste great and you can easily create the different layers without having to partially freeze each layer before adding another. Plus, you can’t beat the texture! One last tip is to try your best not to eat the yogurt as you are going. The recipe is pretty exact in terms of making just enough to fill ten popsicle molds so if you’re snacking while you go, you may end up with a few less frozen treats!
6. Once the molds have been filled, you’re ready to add the sticks. If your set comes with handles, great. If they don’t, you’ll have to use popsicle sticks. My set does not include plastic handles so I use sticks. The problem I run into is that if you put the sticks in, they will fall straight to the bottom of the mold, leaving me with nothing to hold onto and having to deal with the stick the entire time I’m eating the popsicle (yes, I know, first world problems). To get around this, I use paper clips to hold the sticks where I want them. I attach the paper clip to the popsicle stick approximately an inch and a half from the bottom of the stick and then gently slide the stick into the mold. Once all of your sticks are inserted, place the mold into your freezer on a flat surface for at least 5 or 6 hours to allow the popsicles to set and harden. Once the Patriot Pops are fully frozen, it’s time to release them from the mold. Run some lukewarm water over the mold for 5 to 10 seconds and then gently slide the pops out of the mold, keeping in mind if you pull too hard, too fast, you can potentially pull the stick out of the pop. You can eat them right away or store in a zip-top bag using wax paper to keep the pops separate and from sticking to each other. They will stay good for up to a month but will begin to lose flavor the longer they stay in the freezer.