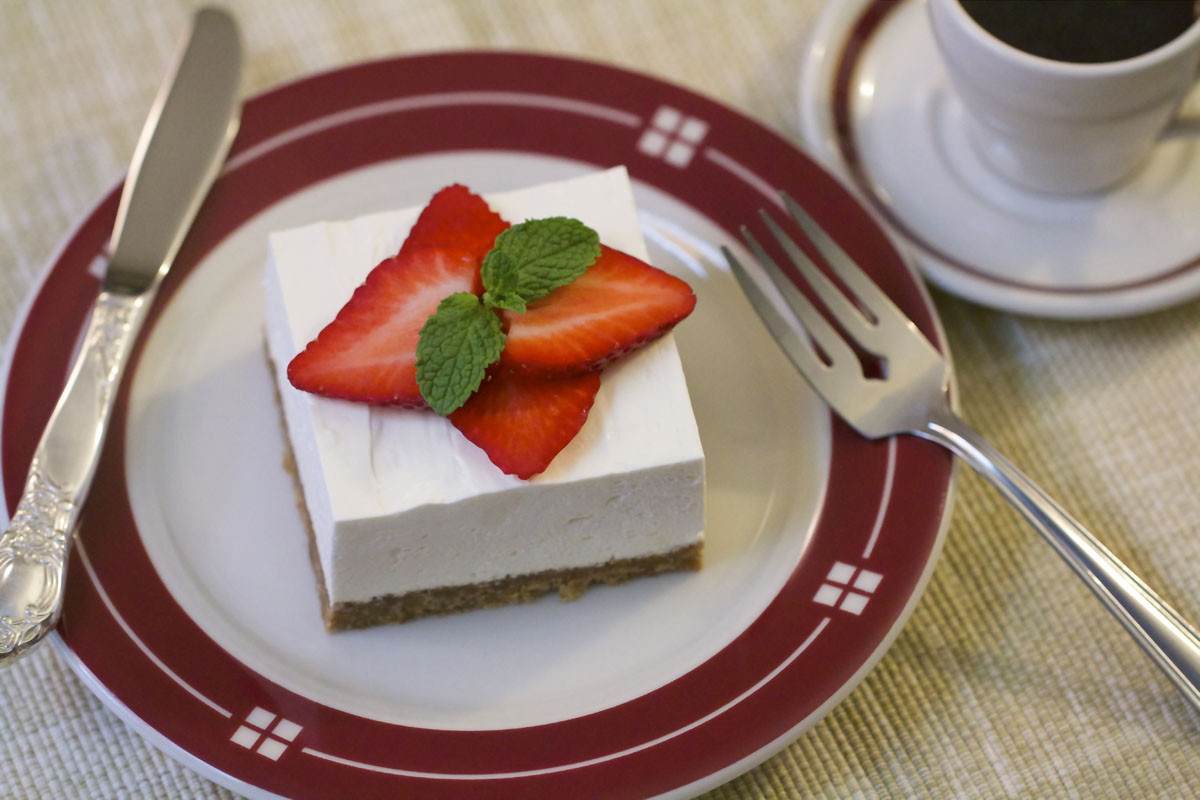
Strawberry Cheesecake Squares
Servings
24 squares
Active Time
30 minutes
Total Time
6 hours
| Share on Facebook |
| Share on Twitter |
| Download the Recipe |
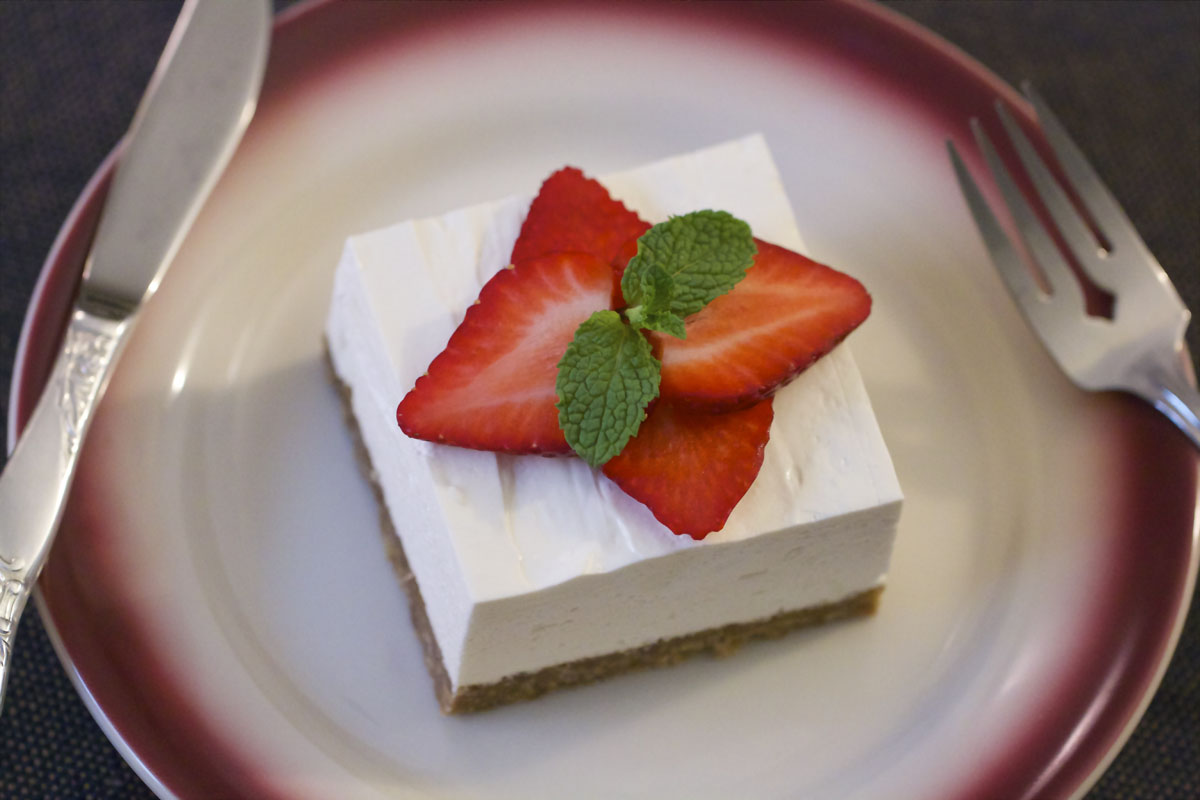
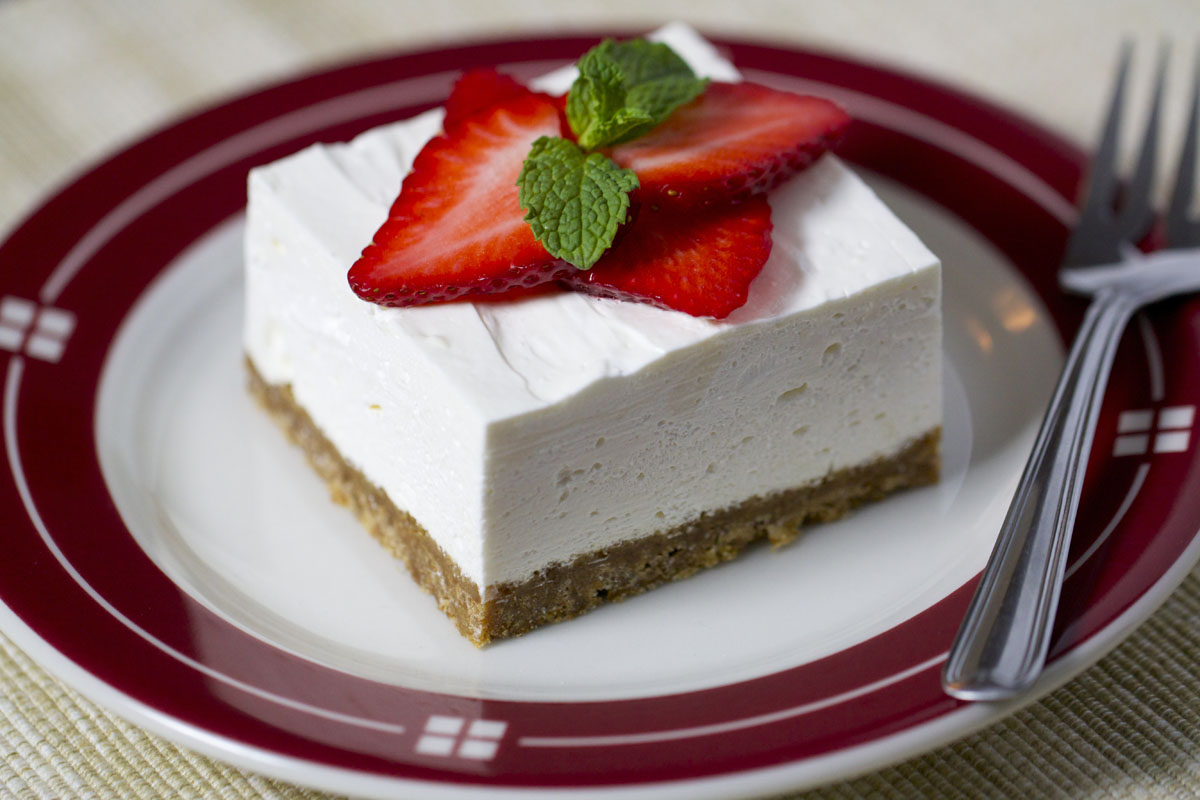
Strawberry Cheesecake Squares
These no-bake Strawberry Cheesecake Squares are so good that St. Valentine himself would lose his head over them. Too soon? In my book, anything that contains strawberries, cheesecake and a graham cracker crust might as well be the physical embodiment of love itself. Fruity. Creamy. Decadent. Delicious. And cut small enough for you to share one with every valentine on your list!
Ingredients
For the Cheesecake
- 2 8 oz pkgs cream cheese, softened at room temperature
- 2/3 cup sugar
- 4 tsps vanilla extract
- 2 containers 8 oz whipped topping, thawed
- 1 16 oz container of sour cream
- 1 lb fresh strawberries, stems removed
- Parchment paper
For the Crust
- 2 1/2 cup graham cracker crumbs
- 1/2 cup sugar
- 2/3 cup melted butter
Directions
This recipe can be an entirely “no bake” process if you would rather purchase a pre-made pie crust. It wouldn’t make sense to cut the cheesecake into squares at that point, so I would recommend using either half portions of the cheesecake ingredients for a single pie crust or the full amount for two crusts and cutting and serving the cheesecake as you normally would. Otherwise, a 9″ x 13″ baking pan is the recommended vessel for this recipe. I recommend lining the baking sheet with parchment for two reasons: it is good insurance on your crust not sticking to the pan and it also makes it easier to remove the cheesecake from the pan to cut into squares without smushing it.
1. Preheat your oven to 350 degrees. Cut butter into smaller pieces and put into a microwave safe bowl. Microwave for 1 minute or until the butter is melted. Set aside. Two full sleeves of typical graham crackers usually come out to the two and a half cups the recipe calls for. I like to grind up the crackers in the package using my fingers. While I try to avoid large chunks, I prefer to grind the crackers this way over using a food processor because I don’t want all of the pieces to be super fine. When using your fingers, some larger chunks are left in tact and offer better texture in the finished product. Combine the graham cracker crumbs and sugar into a mixing bowl. Pour the butter over the mixture and stir to combine. Note: I prefer to use salted butter because I like the way it tastes with the sweeter ingredients, but feel free to use unsalted if you’d rather.
2. Line the bottom of a 9″ x 13″ baking pan with parchment paper, leaving enough overlap to act as “handles” later on. It should be noted that parchment paper is not the same as wax paper. Wax paper cannot go into the oven while parchment paper can. Press the graham cracker mixture into the bottom of the pan as evenly as possible. Bake in the oven for 10 minutes, rotating the pan 180 degrees halfway through. Set aside and allow to cool completely. The crust will harden up as it cools. In terms of timing, I would recommend putting the cream cheese and whipped topping out on the counter to soften and thaw around the same time you are setting the crust out to cool.
3. After about an hour, the crust should be cool and the cream cheese/topping softened/thawed. In a stand mixer or using a hand held mixer, whip the cream cheese until it is smooth and then begin to gradually add in the sugar to the cheese. Next, add in the vanilla extract and the sour cream and mix to combine. Take the mixing bowl off of the stand mixer at this point or stop using the hand mixer. Using a rubber spatula, lightly fold in the whipped topping until it is incorporated. The lighter you are able to fold the topping in, the lighter your finished cheesecake will be.
4. Scrape the mixture onto the cooled pie crust and smooth out with the rubber spatula until it is even. Now into the refrigerator it goes for four hours to firm up. In the meantime, thoroughly rinse and dry the strawberries and remove the stems. Cut the strawberries into halves or thirds lengthwise, depending on how large the strawberry is. Set aside until the cheesecake is cooled.
5. Once cooled and firm, carefully lift the cheesecake out of the pan onto a cutting board (thank you parchment paper!). Fill a large cup or pitcher with hot tap water and grab a clean kitchen towel. Dip your knife into the water and wipe dry. This will briefly warm up your knife making it easier to produce clean cuts into the cheesecake. Dip your knife into the water each time you make a cut. You can cut the cheesecake however you’d like, but I would recommend cutting the long-way into four “columns” and then makings six “rows” in the other direction. This will produce 24 approximately two inch squares. Top each square with strawberries and serve.