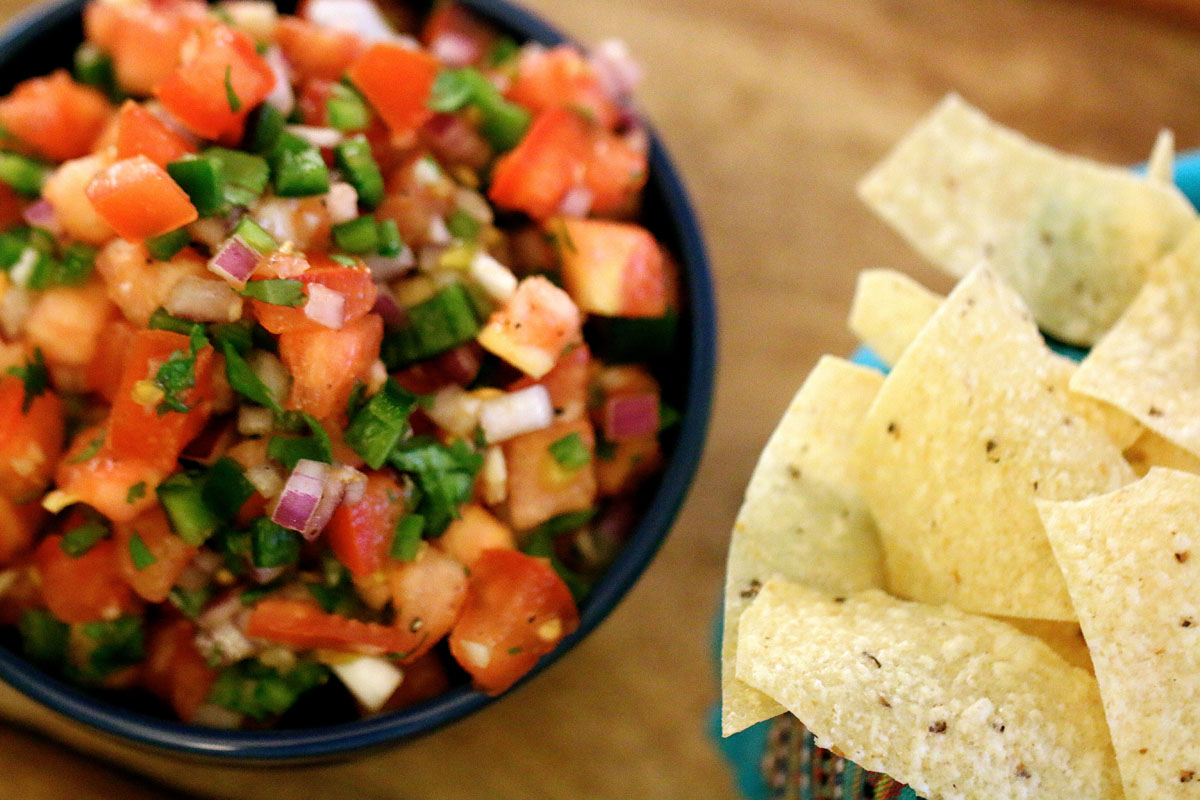
Pico de Gallo
Servings
A bunch
Active Time
30 minutes
Total Time
30 minutes
| Share on Facebook |
| Share on Twitter |
| Download the Recipe |

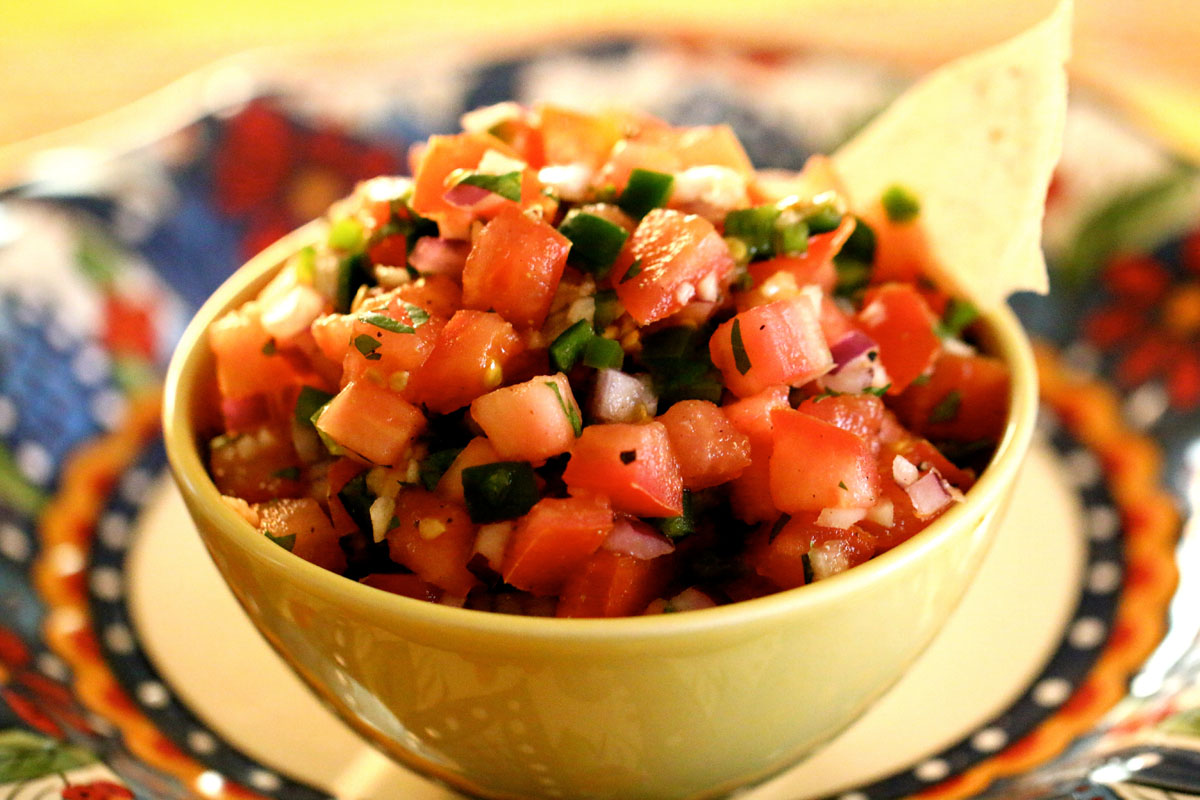

Pico de Gallo
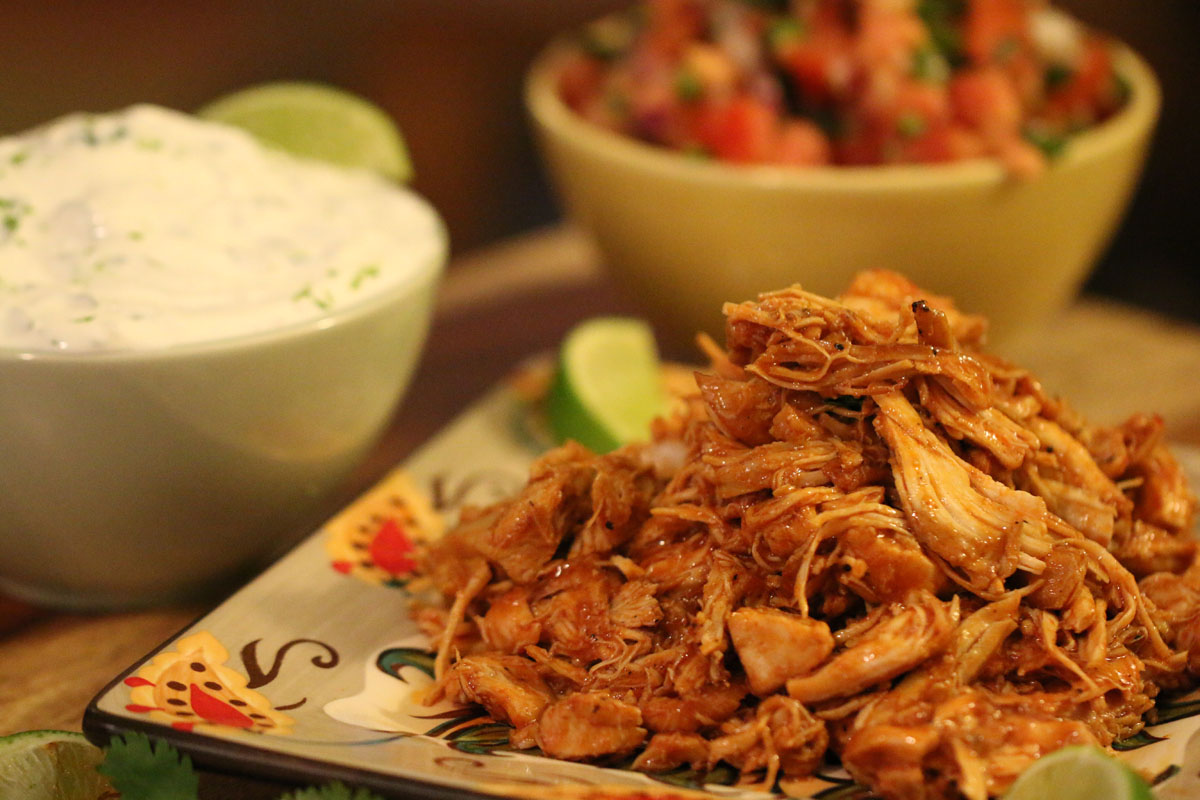
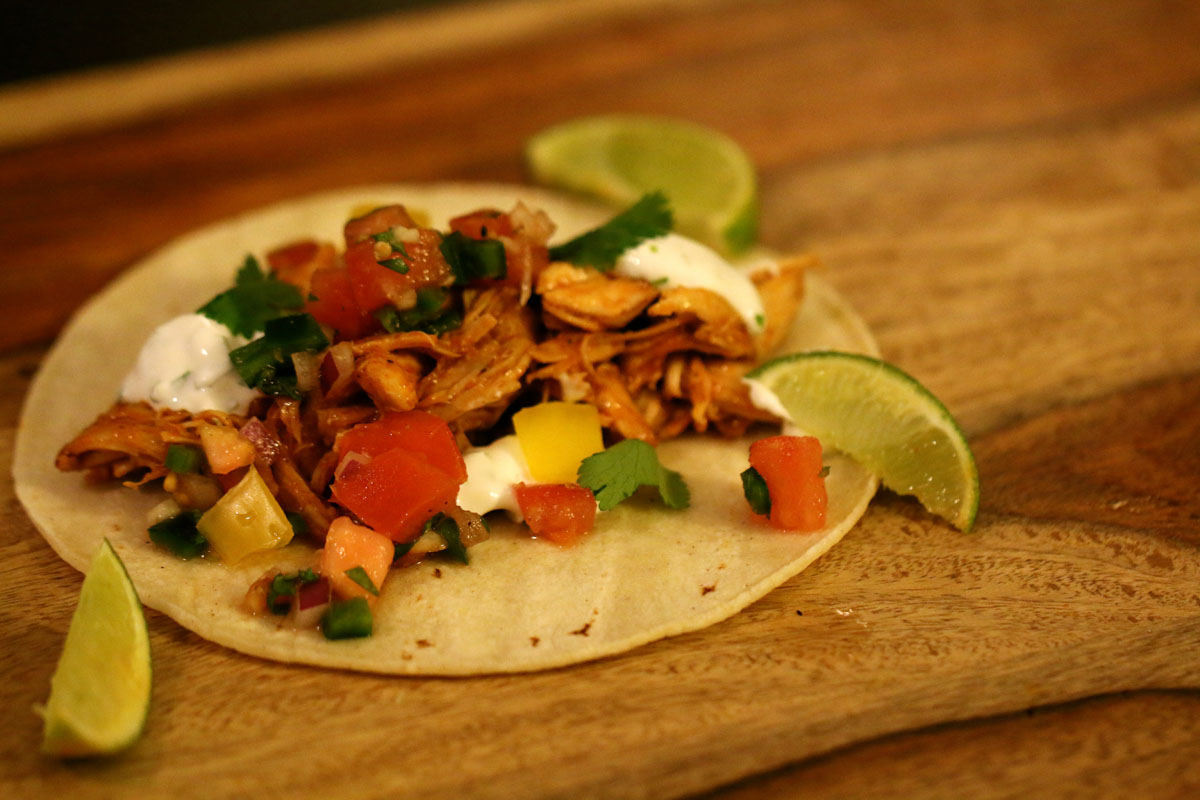
This is a classic recipe for Pico de Gallo. No frills, no mystery ingredients, no nonsense – just bright, clean, summery flavors that go great with your favorite chips and tacos. If you’re feeling adventurous, this salsa goes great on salads and even on your morning eggs. You can go with the classic small dice on the veggies or make your life simpler and use a food processor – either way, enjoy the spoils of summer with this classic recipe!
Ingredients
- 4 large beefsteak tomatoes or 6- 7 roma tomatoes, cubed
- 2 poblano peppers, diced
- 2 jalapeno peppers, seeded and minced
- 4 cloves garlic, minced
- 1 small red onion, diced
- 1/2 cup loosely packed cilantro leaves
- Juice of one lime
- 1 Tbsp of cumin
- 2 – 3 Tbsp minced pickled jalapeno and some juice from the jar
- Salt & Pepper to taste
Directions
Let me start by saying that if dicing a bunch of vegetables isn’t your thing but a fresh and tasty salsa is, then you can absolutely make this recipe with a food processor, blender or immersion blender, really whatever robot slicer you have on hand. Hell, you could probably even use a slap chop to get the job done. I do this sometimes, too, and sometimes I even prefer the nice loose consistency, especially if I have some fragile chips on hand. Be sure to break down the vegetables into smaller pieces either way though to allow for more consistency. However, if you want to practice your knife skills or simply prefer a heartier salsa, follow the steps below:
It should be noted that you can slice n dice these veggies in any order you prefer, but I generally like to save the juiciest produce (e.g. the tomatoes) and/or the ones most likely to cause pain (e.g. onions and jalapeños) until the end to keep both my cutting board and eyes as dry as possible during the prep phase.
1. Start by thoroughly rinsing and drying all of the vegetables. Since the final product is going to remain uncooked, it is all the more important to rinse off all the grit and grime your food has been exposed to during its trip from the fields to your kitchen.
2. Cut the stem end of the poblanos off and discard. Cut the pepper in half lengthwise and remove the seeds with your fingers. Now lay the pepper halves skin side down and lightly run your knife along the inside of the pepper, parallel with your cutting board, to remove the white, less appetizing ribs. Cut the freshly cleaned halves in thin lengthwise strips. Bundle the strips together and then cut horizontally to create small pepper squares. Toss the squares into a mixing bowl.
3. Pull cilantro leaves from the sprigs. Once you have a loosely packed ½ cup of leaves, lightly bunch them together. Hold the bunch together in your off hand and then cut thin slivers. Cutting the herbs this way will help to not bruise them. Add to mixing bowl.
4. Smash or press garlic cloves with the flat side of your knife. This will release the oil in the garlic and simultaneously make the peel come up easily. Trim off the rough end of the clove where it connected to the inedible base. Mince the garlic and add to the bowl.
5. Roll the lime on the cutting board with your hand using downward pressure. This will help yield as much juice from the lime as possible. Cut the lime in half and set aside for later.
6. If you have them on hand, it is recommended to use latex gloves when working with jalapeños. If you do not have gloves, be careful to thoroughly wash your hands (wash them longer than you think) after cutting them and do not touch your eyes or genitals. I have done both and have sorely regretted it. Don’t be me! Note that the capsaicin will also be on your cutting board and knife. Now that you have learned from my mistakes, cutting the jalapeños is exactly like cutting the poblanos above. However, I would recommend cutting even smaller “squares” for these to avoid having too many, potentially very spicy, jalapeños in any given bite. Add jalapeños to mixing bowl.
7. Cut the very ends off of the red onion (the root end and opposite end). Place a cut side down on your cutting board and then cut the onion in half. Peel the skin off both halves and discard along with the trimmed ends. Shooting for similar pieces to the size of the poblanos, slice into the onions along the natural arch of the halves but don’t cut all the way to the end as if you were julienning (imagine your cuts being individual stones in an archway). Rotate the onion 90 degrees and then make similar width cuts to quickly produce small onion squares.
8. A note about the tomatoes: I generally prefer to use Roma tomatoes. I like the flavor better and they are less juicy, which I prefer. However, sometimes a juicier / looser salsa is what you are going for and so I would recommend the beefsteaks for those. Either way, the difference between them is not going to be much of a game changer, so don’t put too much pressure on yourself when deciding. For either variety, I will typically using a paring knife to cut out the top center bit of the fruit where it once attached to the stalk. Everything else is fair game and delicious. If using a Roma, at this point cut the tomato in half lengthwise. My preference is to then lightly squeeze the halves over the sink to get a little more juice out. I then put the halves cut side down on the cutting board and break them down similar to cutting the red onion in the last step. If using beefsteaks, I cut the tomato into horizontal strips and then make pass vertically and horizontally to get even squares. In either case, I aim to make my tomato squares larger than any other vegetable. Scoop cut tomatoes into the bowl.
9. Now that all of your vegetables have been cut, it is time to add salt and pepper to the bowl and mix thoroughly. Next add the cumin and lime juice. Give your salsa a taste and see what it is missing. The flavor of raw vegetables can vary substantially, so tasting and tweaking is very important. However, keep two things in mind: 1). The salt is going to draw a lot of moisture out of the vegetables and so after a couple hours, your salsa is going to be a lot juicier than it was before. If you make your salsa as juicy as you want it to be at the very beginning, you can be sure it will be too loose for your taste later. 2). Like soups, fresh salsas will become a lot more flavorful (and spicier) as time passes. Therefore, it is recommended that you make a salsa no later than the morning before you intend to serve it, but I before to make it the day before.
In closing, I like to add some minced pickled jalapeño and some of the juice from the jar to add depth of flavor. Adding Mexican oregano is also a fun way to add an interesting flavor to your salsa. Experiment and see what you like!